Read These Pages...

Monday, August 3, 2015

Light Rye with Cheddar

This loaf was conceived mid-afternoon before going out to some community theatre and baked within an hour of my return home. My inspiration came from this take on the Bittman / Leahy recipe at The Blog That Ate Manhattan. I love that it uses olive oil, and the sweetness that comes through is quite lovely without being at all overpowering or forward. 
It sat for a bit more like 5 or 6 hours because, heck, sometimes you just don't know when the play is going to end.

So I didn't give it a full 30 minutes to rest here... Let's just call it an even 20.

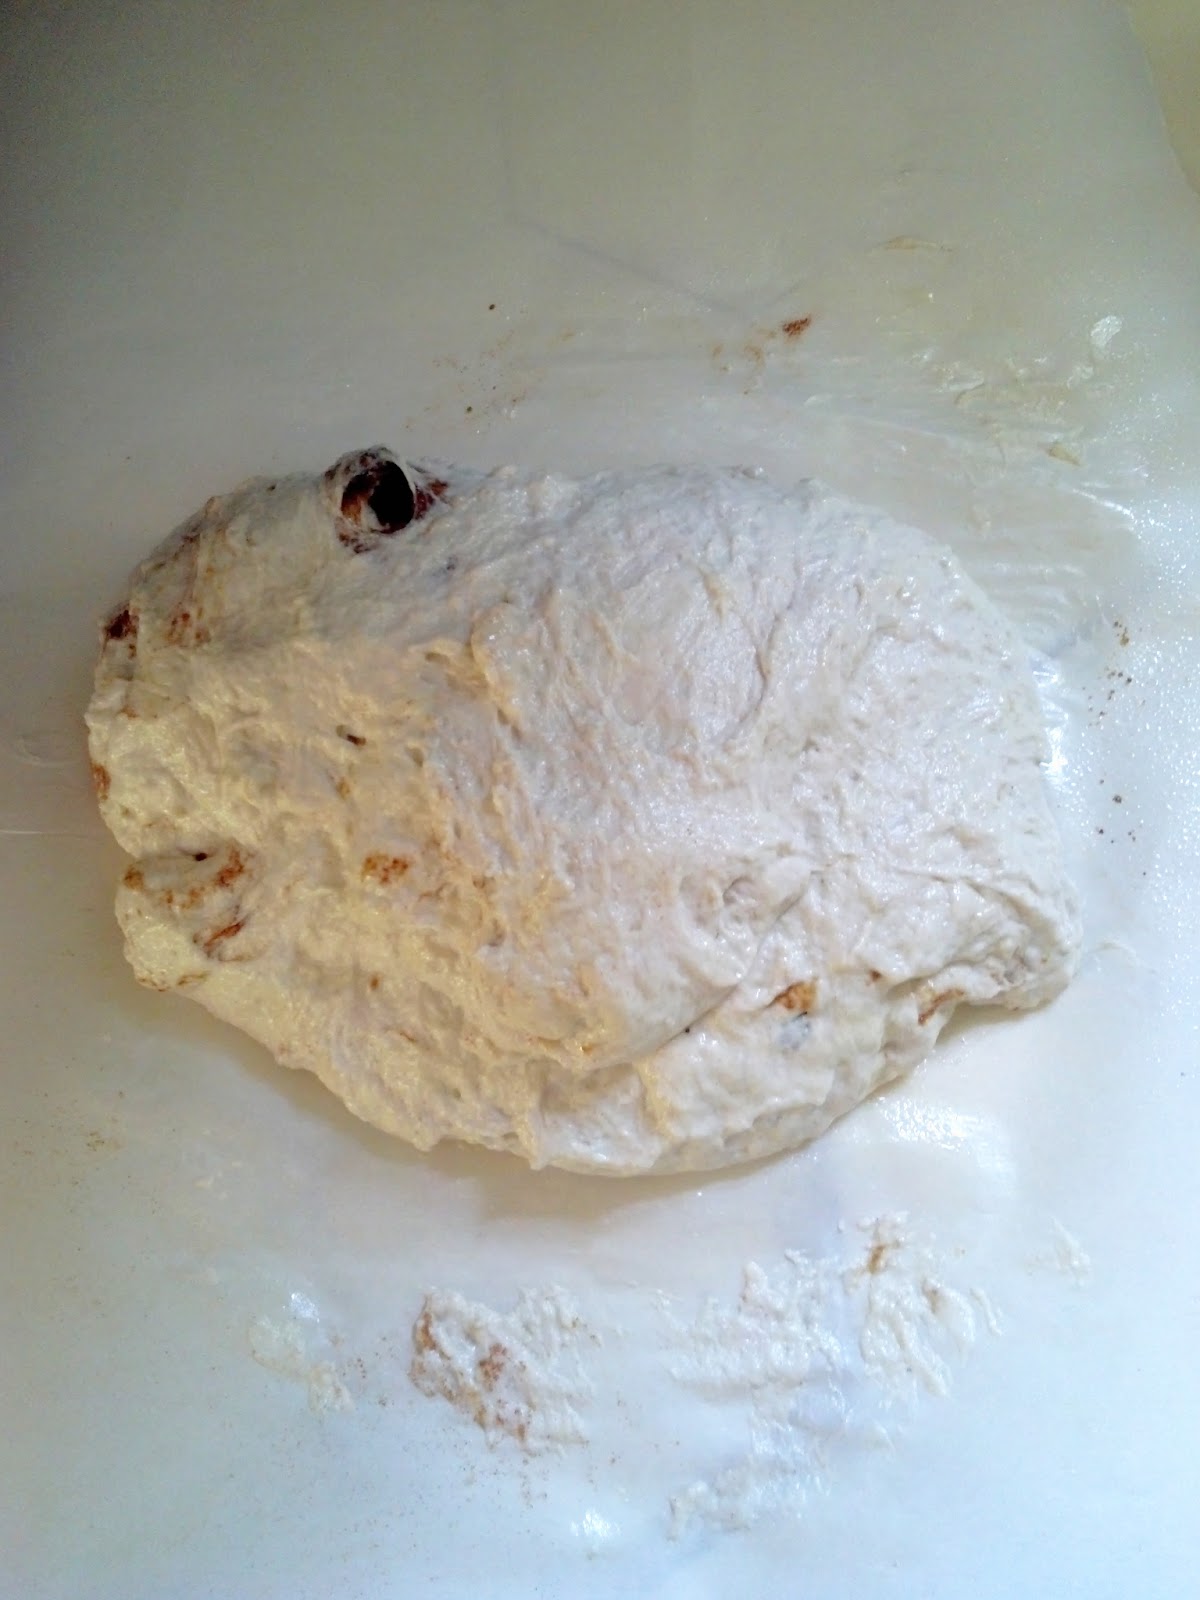
Seam side up opened all the cheese that had previously been folded inside, but that's okay, because sometimes it just wants to rise to the top.

Gave it almost 40 minutes with the top on...

...and a little less than 15 topless.

Pulled it out to cool and enjoyed the heft, the hard exterior and, certainly, the aroma. Not a bad way to ring in midnight.

I actually waited until morning to slice it up. And then I ate a "couple" of slices.

The loaf turned out remarkably well for such a lack of planning and hasty bake. Most of it was consumed the first day, of course, but it was just as tasty on day two and on day three made some outstanding toast. Day four is going to need a new loaf, however. That is just the way things are.


Friday, July 31, 2015

Homemade Coffee and Molasses Soda


I like coffee. That is probably pretty clear to anyone reading this. And I like soda. But I detest cloyingly sweet, overly sugared commercial sodas most of the time. (It's all about moderation, after all.) Sometimes I like to combine my love of coffee and my love of soda, and while there are a few commercial products available that do this, I always feel they fall a little short.

On the other hand, this is a ridiculously easy drink to make at home.

I use a SodaStream to make my sparkling water, but you can just as easily use a can of bottle of good seltzer water. Seltzer is important -- do not use Club Soda unless you want a salty taste added to the drink. A strong seltzer is nice and bracing and holds up to the added ingredients which, frankly, you will want to experiment with in small doses as you perfect your own recipe.

With sodas, always start small and taste as you go. Remember that you are diluting flavors, but mix them in slowly (the bubbles do most of the work) or you will overflow quickly.

My glass today began with this stuff, none of which was measured but generally amounted to a total of less than 2 tablespoons all together before the sparkling water was added:

Fresh squeezed lemon juice
Cinnamon
Coffee (cold brew)
Bragg's Apple cider vinegar
Blackstrap molasses
Muguey sweet sap
Residual crushed mint (from my previous soda)

More cinnamon, coffee, lemon and molasses for me, very light on the sweet sap (which is kind of like a sweeter molasses, anyway, and is easily dispensed with), and I don't normally add the vinegar except when I am in a mood for that sort of thing... You might want to just leave it out unless you already love the tartness.

And there you have it. Add some ice and it is a great tonic for a hot day.

Thursday, July 30, 2015

Cinnamon Bread with Raisins

You have the basic dough recipe... This one simply adds the raisins and cinnamon. Telling the story visually, including the clock for reference, this is exactly how it was done. Once you have flattened the dough initially, and put the fruit and spice down, you need only make it into a nice ball that will fit in the cast iron pot the same as if it were a plain loaf. Bake times remain the same. Enjoy!


Tuesday, September 30, 2014

A Bulletproof Morning

A blender with hot coffee, unsalted butter and coconut oil.
Almost Bulletproof... Coffee, butter and oil.
By now there is a pretty good chance you have heard of Bulletproof coffee. It's a brand name, certainly, but is also used to refer to the current fad it has popularized, one of blending butter and oil into a cup of coffee, all in the name of health. More of less.

I want to be clear that I am not endorsing the brand, nor am I likely to try it (although I hear the beans are exceptionally good). In fact, I find many of the claims on the official web site to be a bit too extraordinary to believe, more hype than substance. But I did follow the basic recipe on the brand's site and made my own Bulletproof-esque blend at home.

The idea of adding butter to coffee is nothing particularly new. It dates back quite a long time, in fact, though more appropriately

Friday, August 1, 2014

You Can Take It With You (at least if it's iced coffee)

One of the great things about iced Cold Brew coffee is how well it travels. Unlike hot coffee, which can be delightfully made from a Cold Brew base, iced coffee generally runs the risk of getting heavily watered down if it is consumed too slowly. Yet part of the pleasure of a good coffee is the gradual consumption that comes naturally while savoring the beverage. Coffee is not about chugging. It isn't designed for quick hydration. Coffee is a drink that should be the focal point of the moment. But that cold jolt you get from the chain down the street, whether or not they burned the beans this time, is usually just regular brewed coffee poured over rapidly melting ice and often, heaven forbid, topped with whipped cream.

While I won't belabor the point here of why topping iced coffee with whipped cream is just plain wrong (unless you are using ice cream instead of ice), the basic mechanics should be obvious. The resulting situation is rapid dilution of the coffee, rendering a thin, feeble beverage that is often overly sweet and then, to avoid having to actually linger in the moment and taste the darn thing, it is sucked unceremoniously down and quickly forgotten. Enter the Cold Brew option.

At home, you are not generally limited to the disposable plastic waste offered at the nearest assembly-line espresso joint. So pull out your stainless thermal carafe or ceramic mug and pour chilled Cold Brew into about a third of the available space. Mix in your sweetener if you like that sort of thing and drop in a few cubes of ice. Top it with milk or cream or whatever, but account for the fact that your ice will melt. Personally, I like my coffee drinks to feel rich, so I go "up" a fat; if I normally add 2% to my hot coffee, I'll consider whole milk to compensate for the ice. Or, more likely, I will just add heavy cream. NEVER whipped cream, though, because it does not travel well and ends up usually being more oily than rich when it finally gets mixed in. Be aware, though, that your ice may melt VERY slowly if all the ingredients have been properly chilled in advance and kept in a good thermos.

The best part now is that the coffee remains cold and drinkable for a nice, extended period. The picture here is only moments old as I write this (the cup resting on the recipe for my basic bread, being prepared for this blog on the very tablet on which I am now composing this post). It does not taste any different now than it did two hours ago when I sat down to begin savoring it at my mobile "desk." The drink remains just as rich and flavorful as the first sip and I feel no rush to finish it before it turns into a watery mess.

Iced Coffee and Work on the Go

Friday, July 18, 2014

Discovering Cold Brew Coffee

When I first tried Cold Brew Coffee, I admit that I was not a fan. There are a number of local producers in Los Angeles that sell through Whole Foods and other markets, and some folks were asking me if I would consider making it over the past year or so. Frankly, I did not have any real experience with Cold Brew Coffee, and figured that it would not be particularly earth-shattering, so I largely ignored the request. When I finally did get around to picking up a bottle, which I found particularly over-priced, I made the mistake of drinking it straight, like a soda or juice. But real cold brew is thicker than your normal coffee and it is meant to be cut. I quickly realized that it tasted more like the extract I used to buy from the Coffee Bean and Tea Leaf franchise back in the '90s when making their iced mochas at home was all the rage.

After a while, a friend of mine posted his recipe for Cold Brew Coffee on Facebook and I pulled it down, determined to see if I could master the process that he claimed as his favorite summertime coffee. I got out some Bell Jars and a variety of ground coffees and went to work. My first batch was not a success, per se, but it had promise that I could taste. So I went at it again. And again. And I have to say, it has been a revelation.

I will be preparing a lot of this throughout the remainder of the summer, and will give some tips along the way. But this is what you need to know.


  1. Cold Brew Coffee is good.  In fact, done right, it is excellent.
  2. Cold Brew Coffee has less acid but benefits from added sweetness and milk.
  3. It is surprisingly easy to make.
  4. You do need a little counter space because it sits out AT LEAST overnight.
  5. It takes experimentation to get the ingredients right, but the basics are 1/2 cup grounds to 1 quart water. I use more grounds but mileage will vary based on what grounds are used.
  6. Mix the grounds into the water, seal the jar and wait.
  7. It does need a few good shakes every now and again.
  8. Wait AT LEAST 12 hours before straining out the grounds. 
  9. Then chill it...
  10. To drink, you may only want to use 1/3 Cold Brew Coffee to the ice, water or milk you use to cut it, so start slowly and mix as you go. Stir in sweetener. Enjoy.